Magnetic Particle Inspection
On this page I will briefly go over my magnetic particle inspection procedures for all ferromagnetic tools I inspect.
ROTARY SHOULDER CONNECTIONS
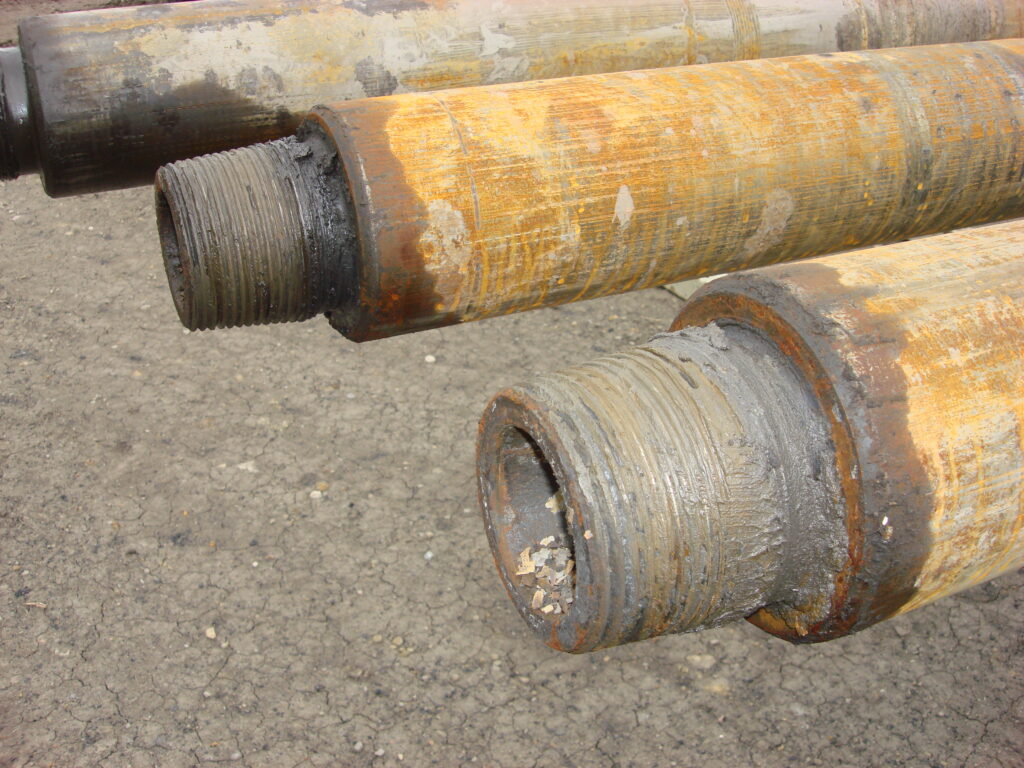
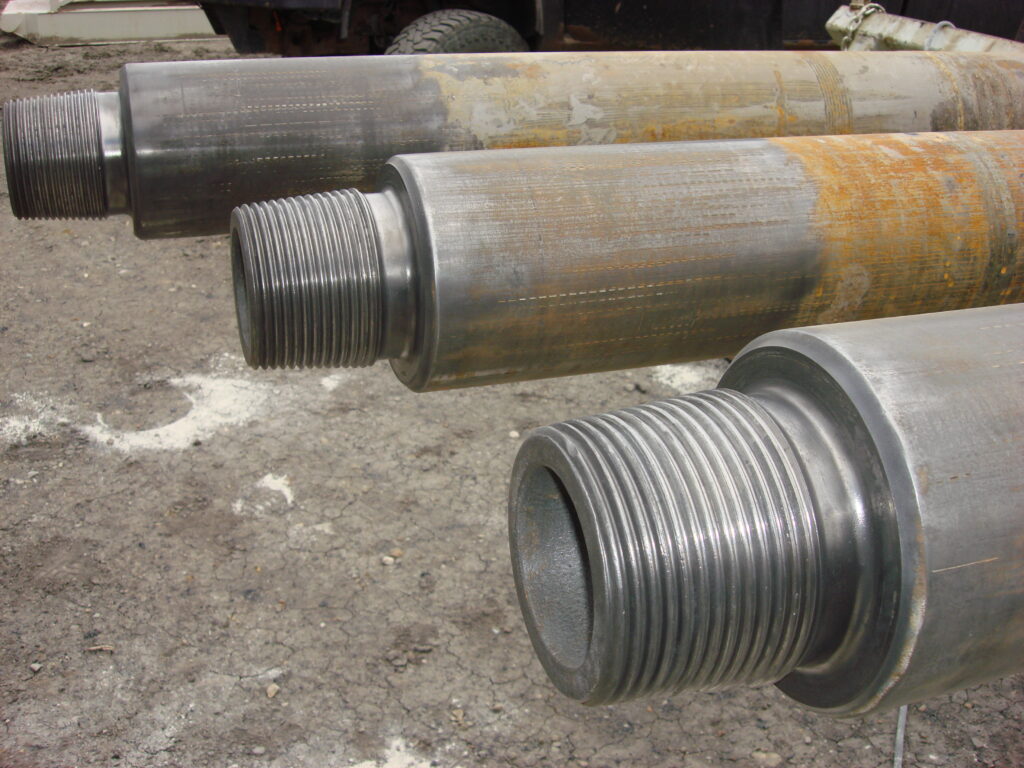
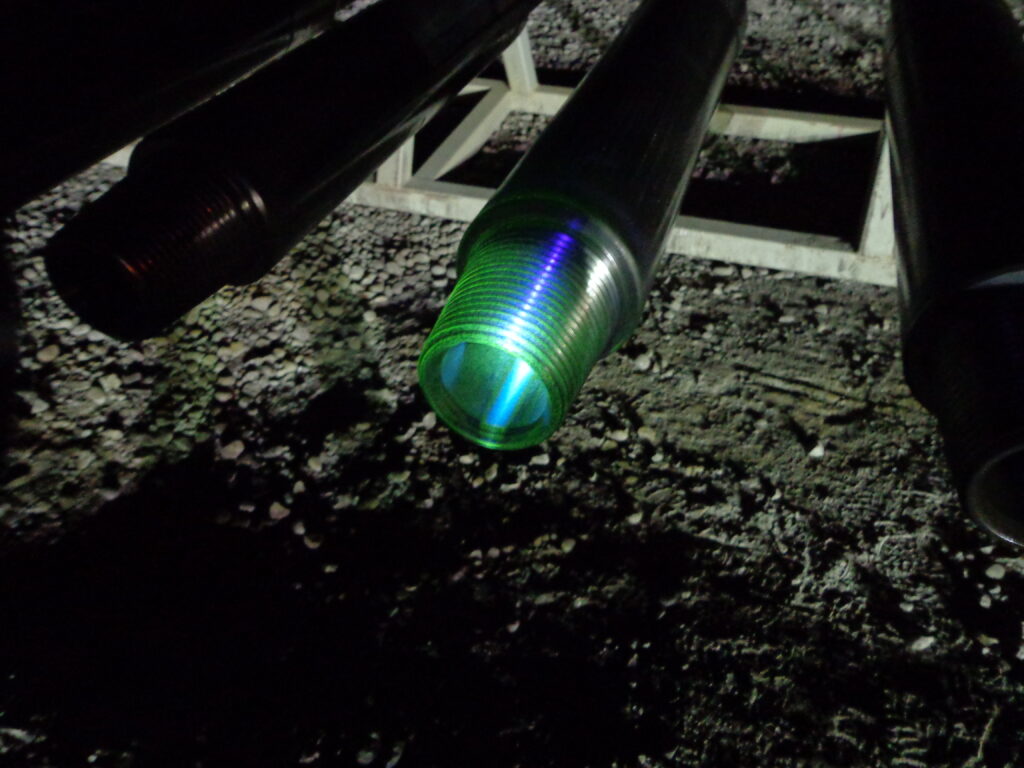
All connections to be inspected are cleaned down to bare metal and all rust and corrosion is removed. Cleaning is probably the most important part of any magnetic particle inspection.
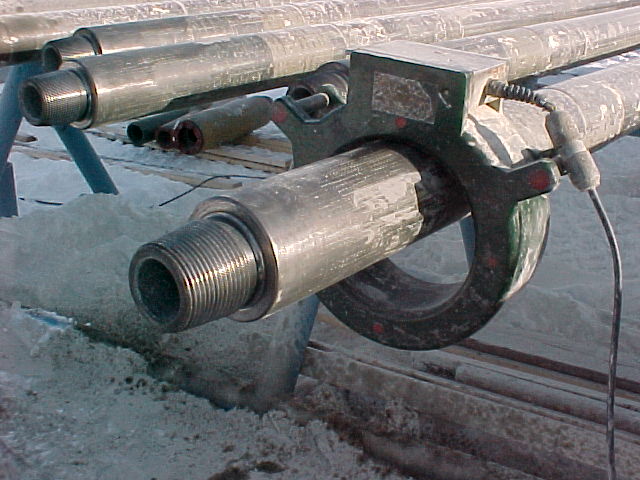
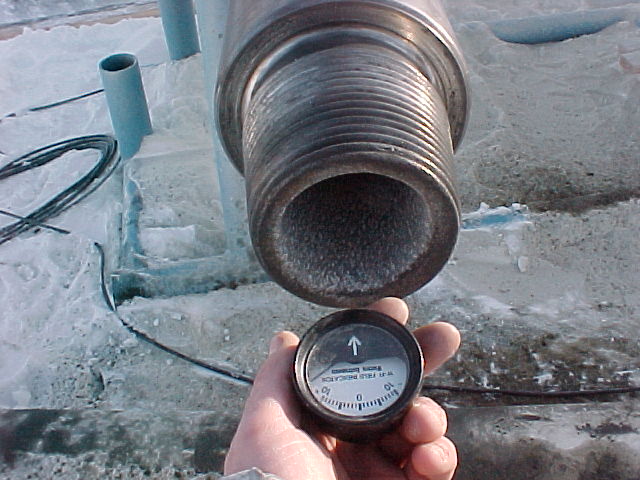
All connections to be magnetic particle inspected are magnetized and the residual magnetism is verified using a magnetic field indicator.
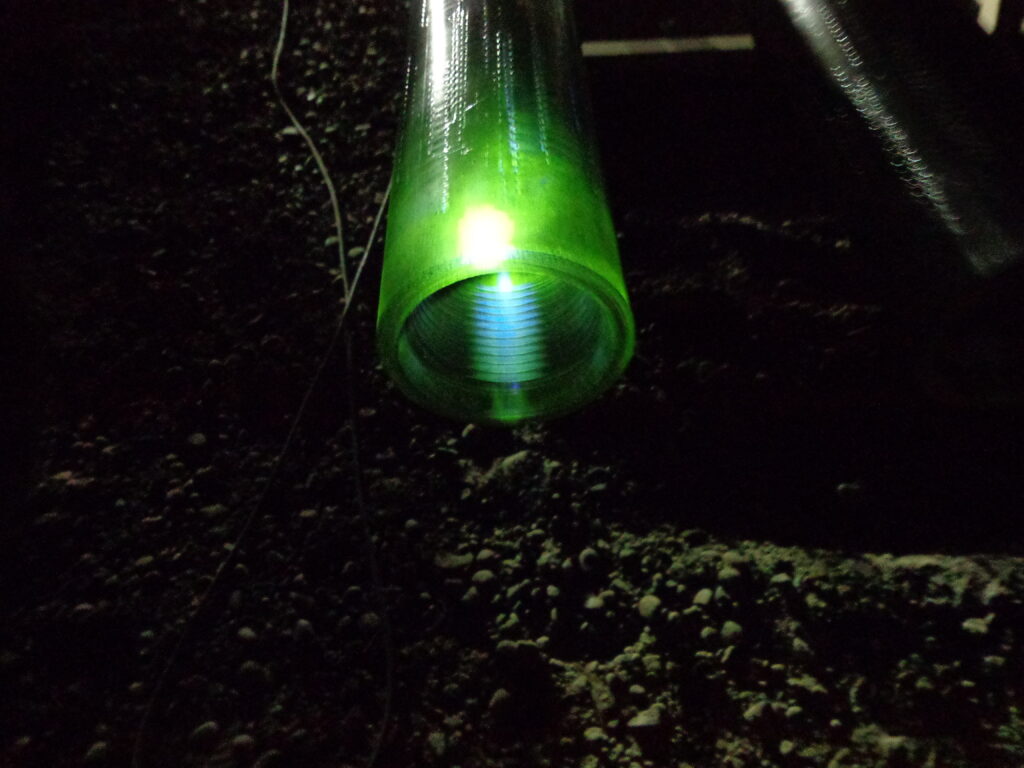
Connections are then inspected for cracks using the wet fluorescent magnetic particle (black light) method. Inspected areas include the pin ID and box OD.
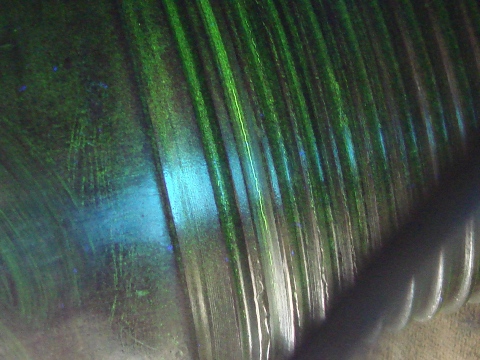
Cracked 4FH pin 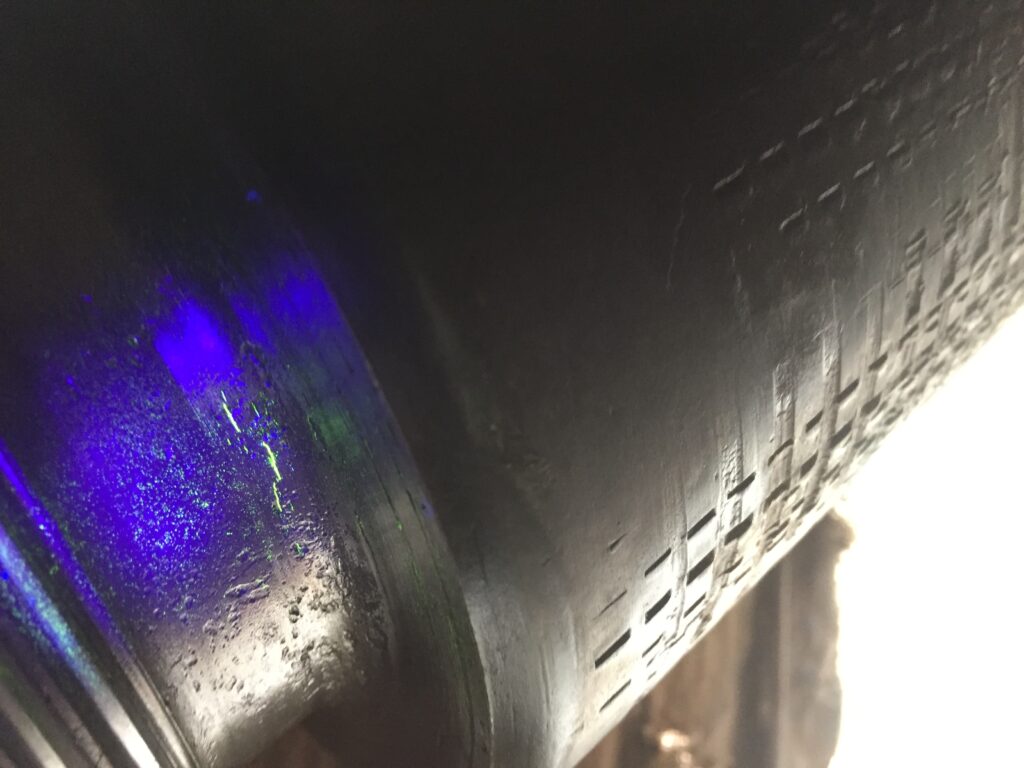
Cracked 4 1/2XH pin stress relief groove 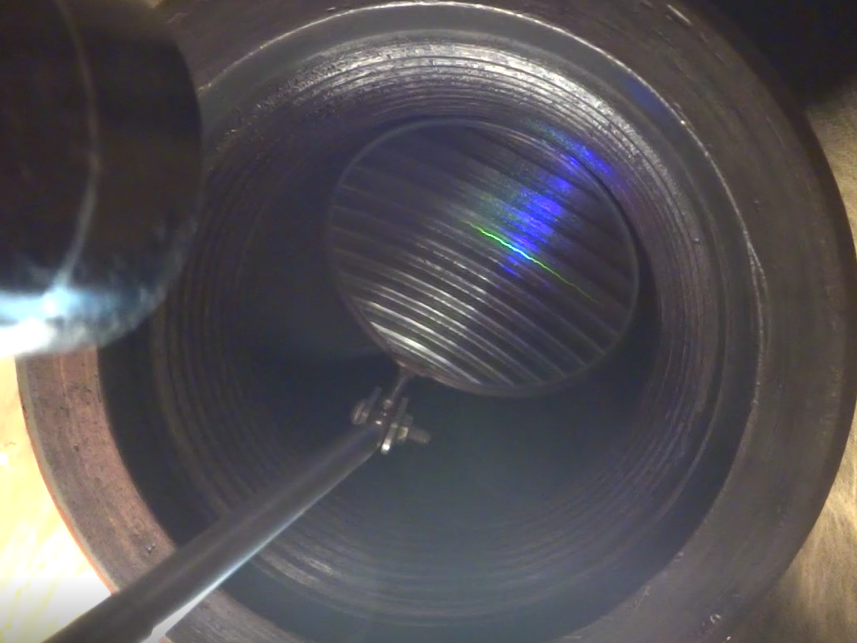
Cracked 4 1/2XH box 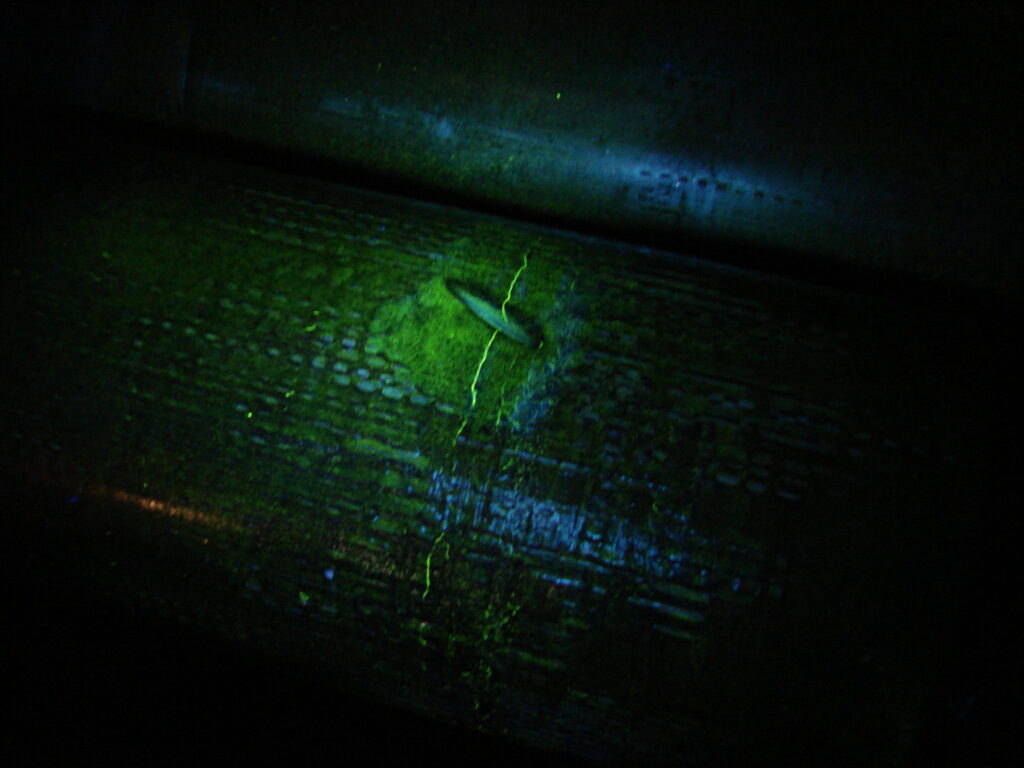
Cracked 6 1/4 drill collar box OD
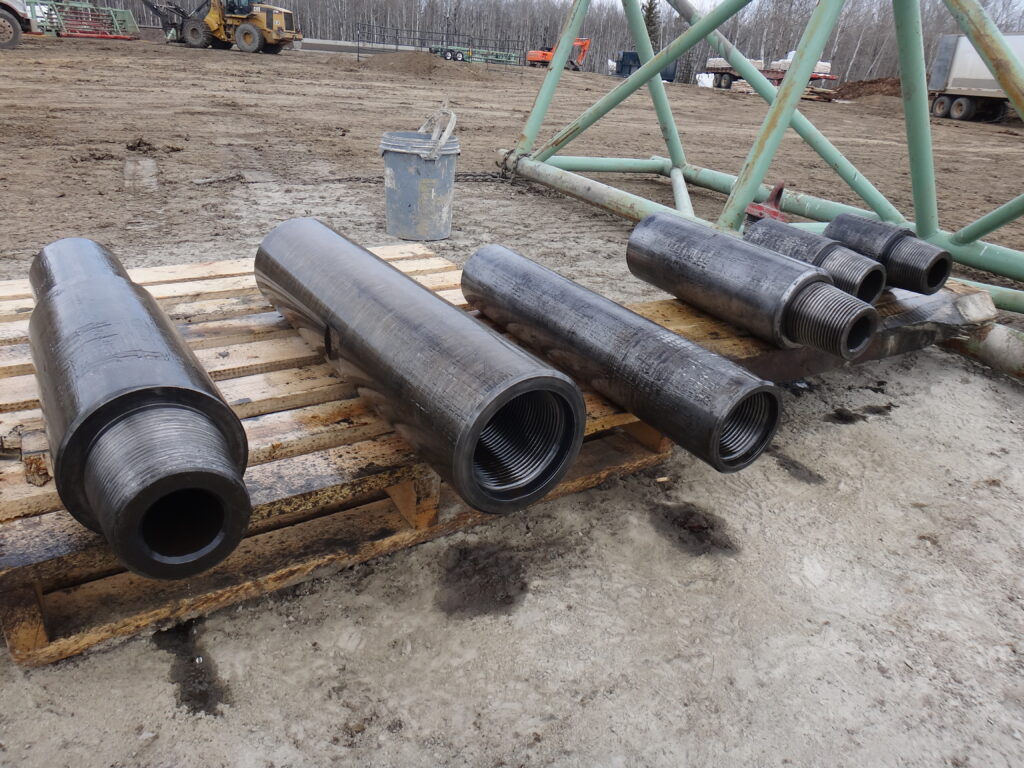
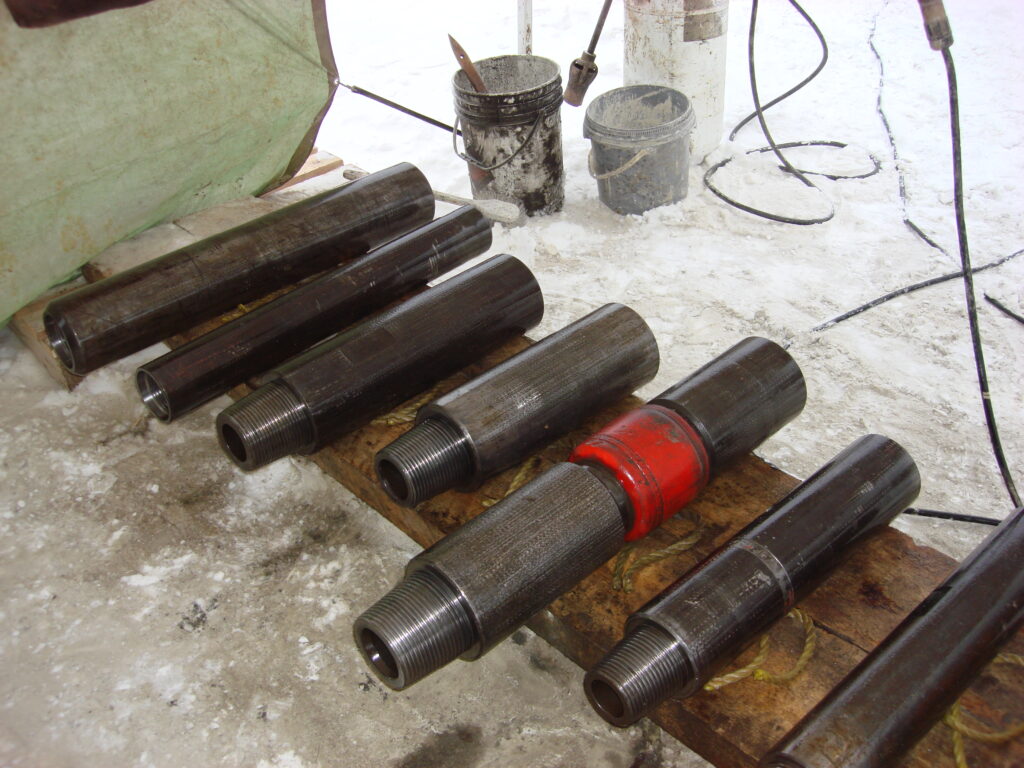
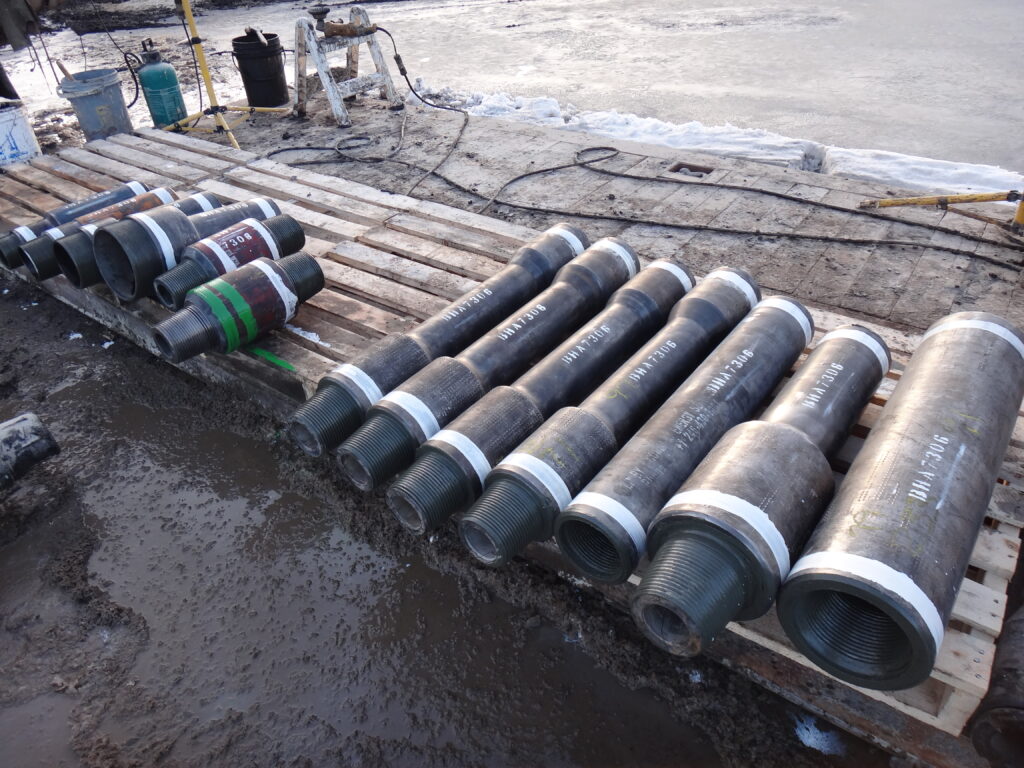
SUB BODYS
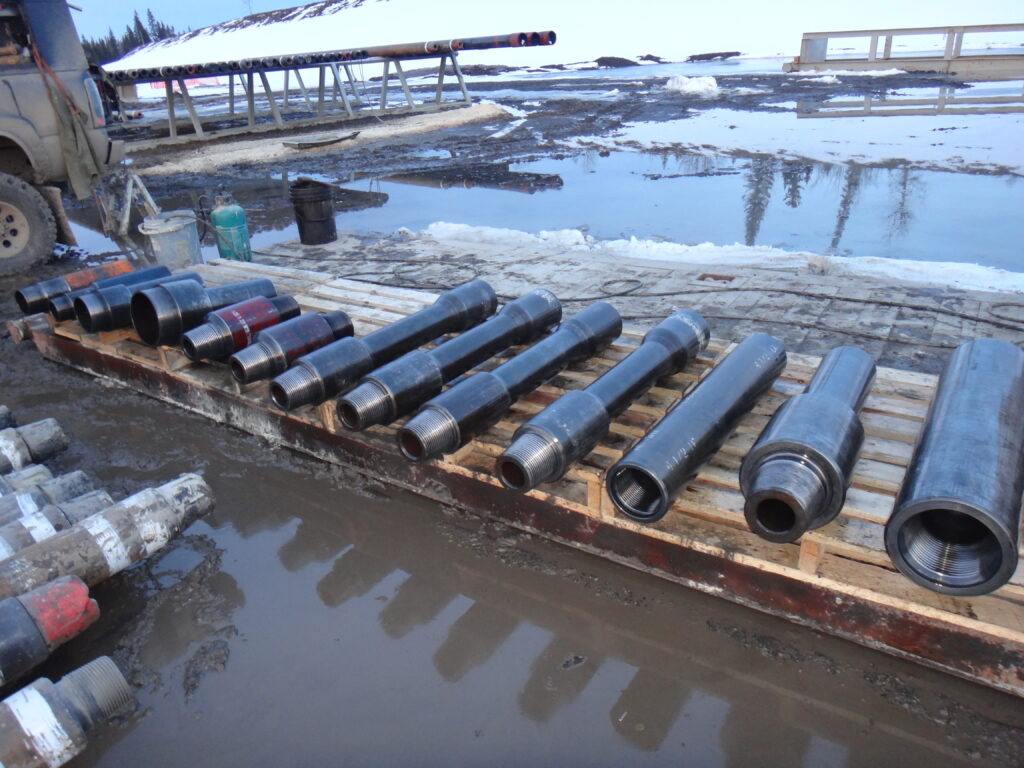
Sub bodies are also cleaned down to bare metal and magnetic particle inspected using the wet fluorescent (black light) method paying close attention to stress risers like bottle necks on bell subs and drill thru sub upsets.
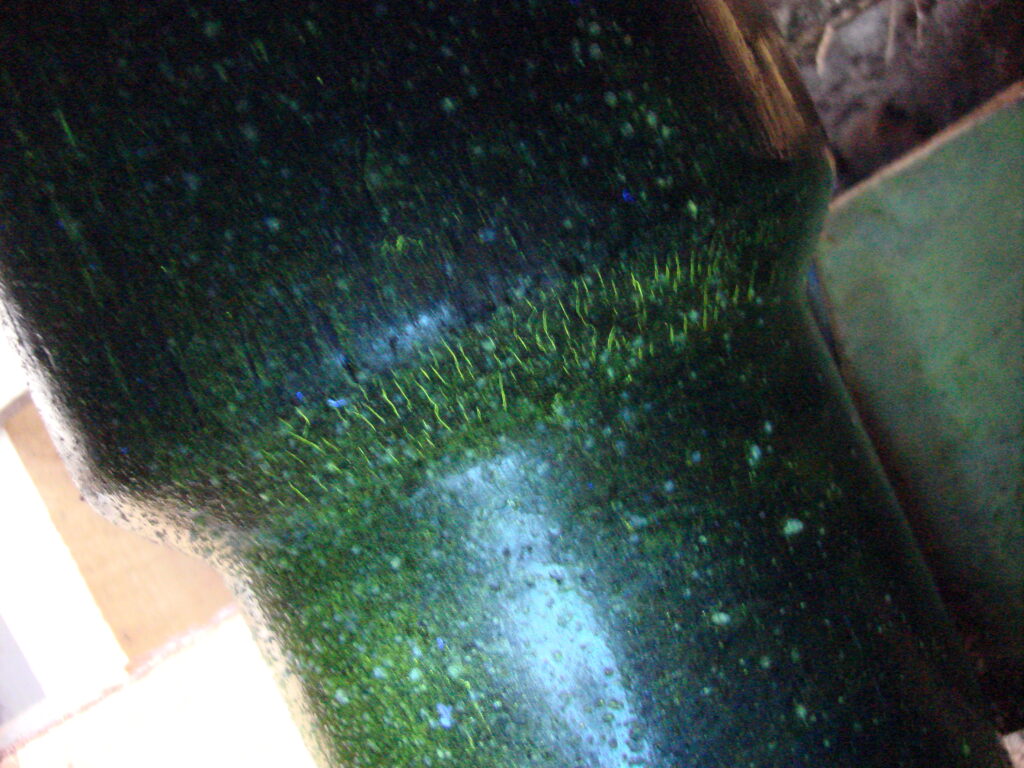
Heat check cracked XO sub bottle neck upset 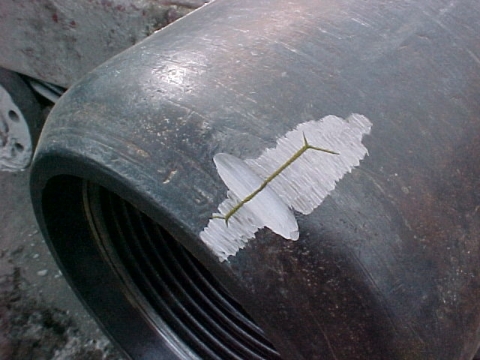
Cracked 4 1/2REG bit box OD 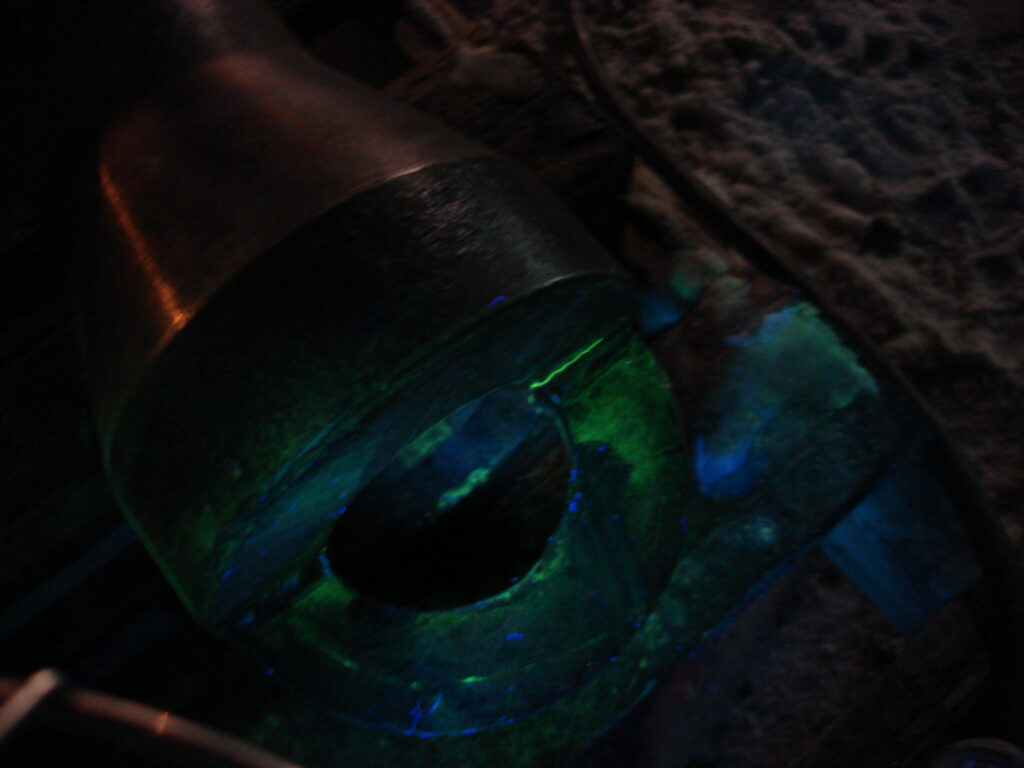
Cracked weld on PU sub 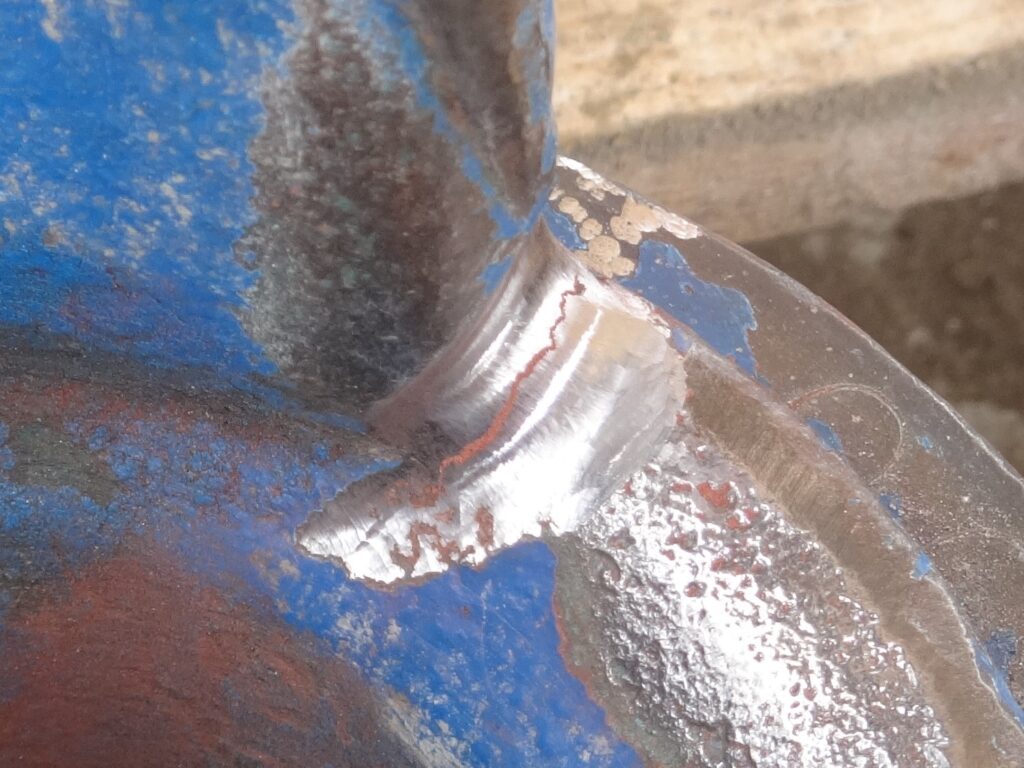
Cracked lift nubbin
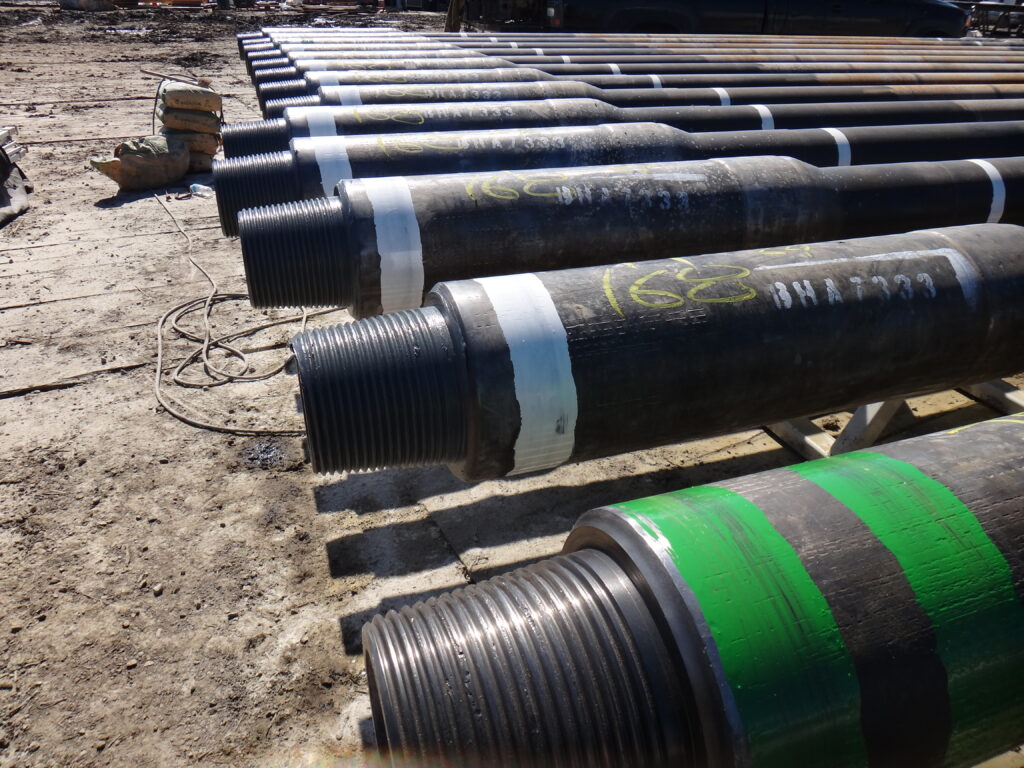
HEVI-WATE DRILL PIPE TOOLJOINT AND WEARPAD UPSETS
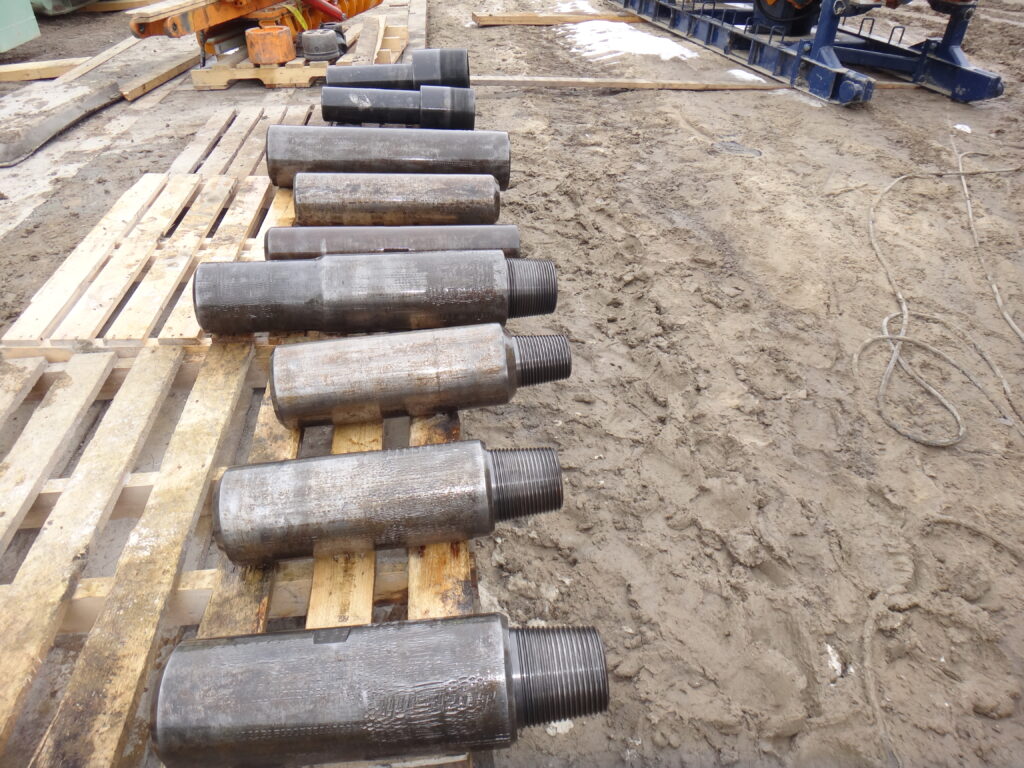
Tooljoint and wearpad upsets are buffed down to bare metal including hardbanded areas. An active field dry magnetic particle inspection is then performed on the pin and box tooljoint upsets including hardband and the tube for a distance of no less than .75m (30″) from the tooljoint. Wearpad upsets are also inspected using an active field dry magnetic particle method on both wearpad upsets including hardband for a distance no less than .46m (18″) down the tube. I prefer the dry magnetic particle method over the wet fluorescent (black light) method on upsets for two main reasons. First is that you can detect internal cracks and other deep internal transverse defects such as pitting rings that the wet fluorescent (black light) MPI method won’t and second it is difficult to inspect large areas with a black light during daylight conditions. I use a yellow dry magnetic particle powder that has a good contrast under natural light and even better under artificial light.
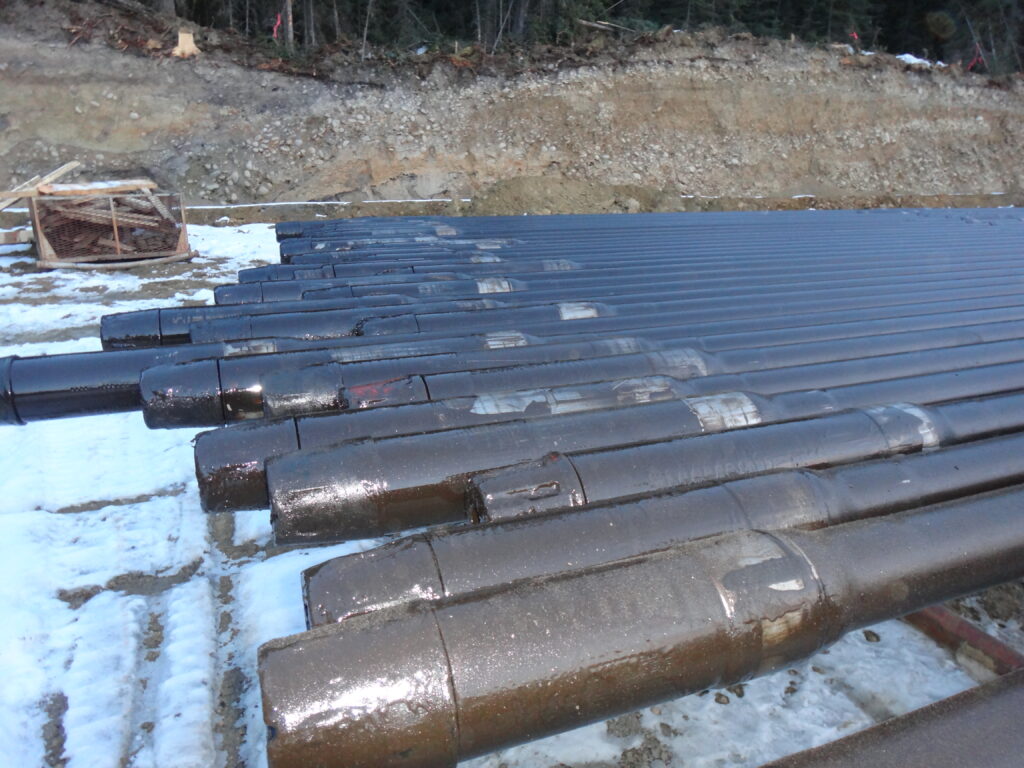
Before 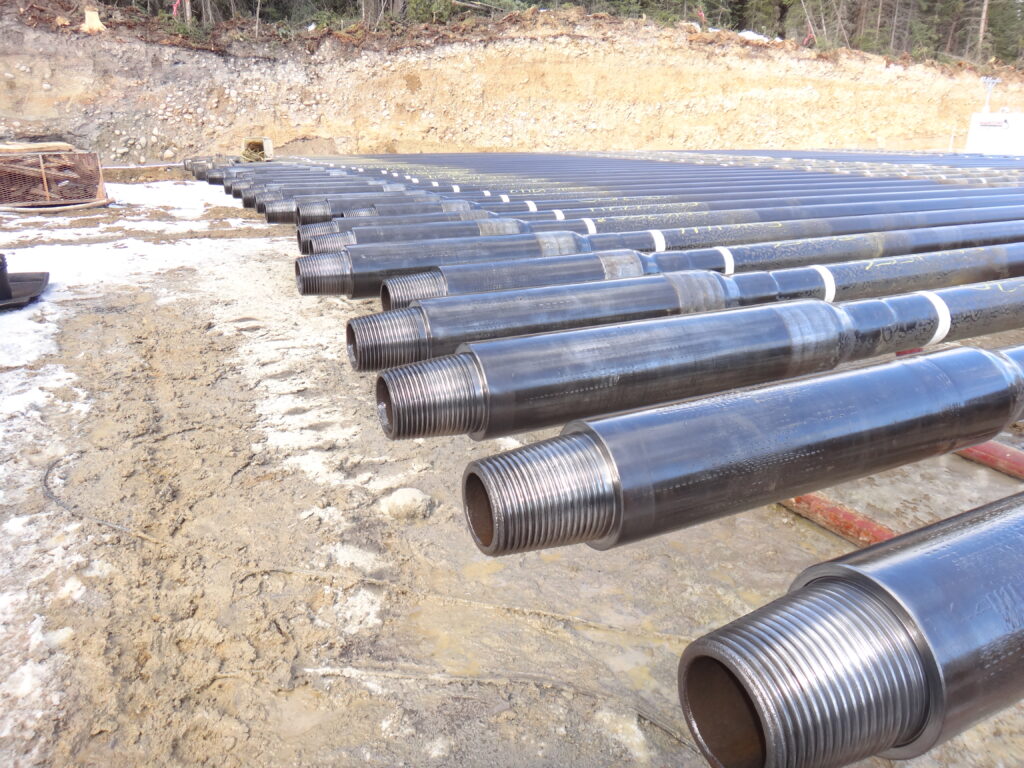
After
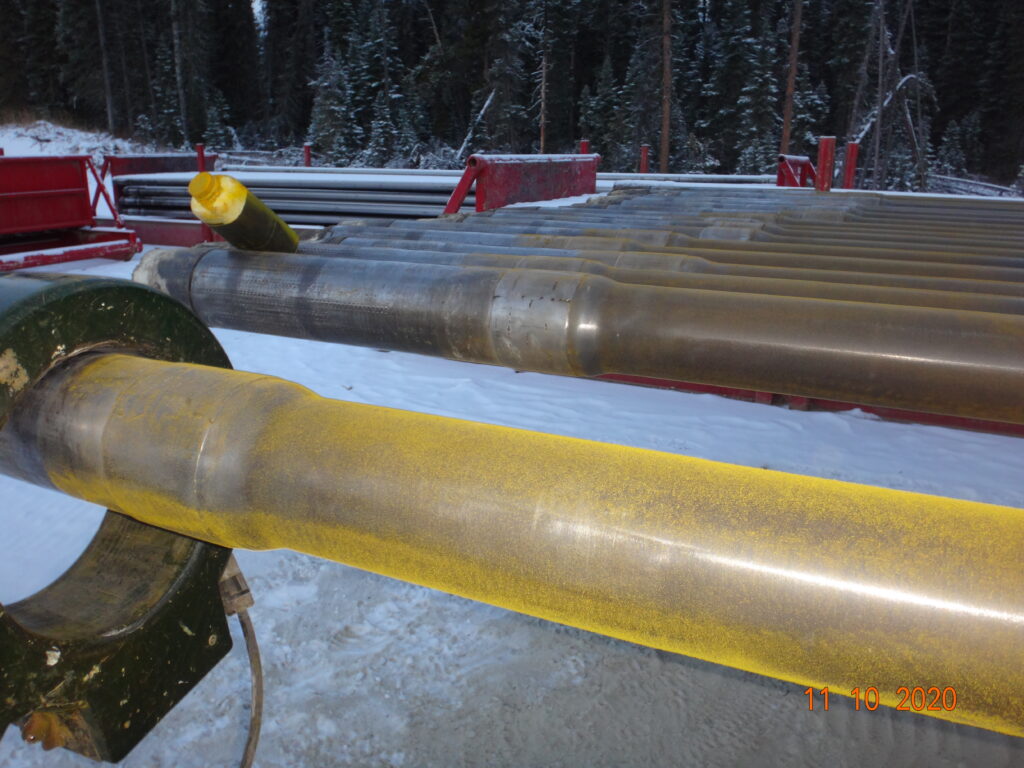
Tooljoint upset inspection 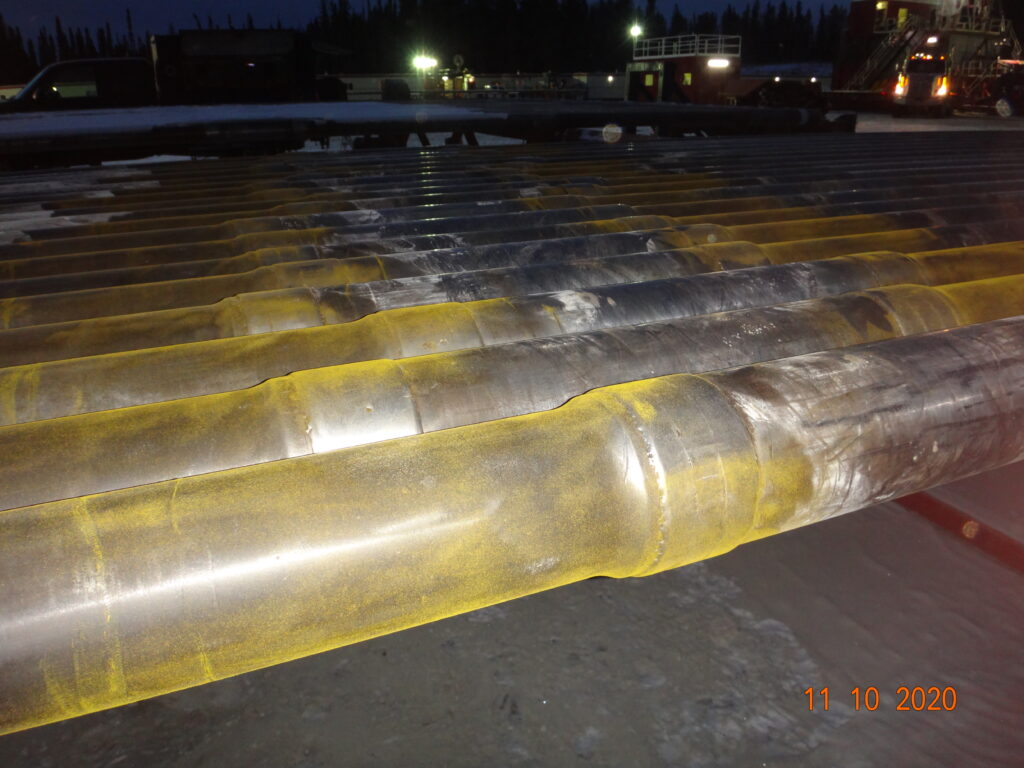
Wearpad inspection 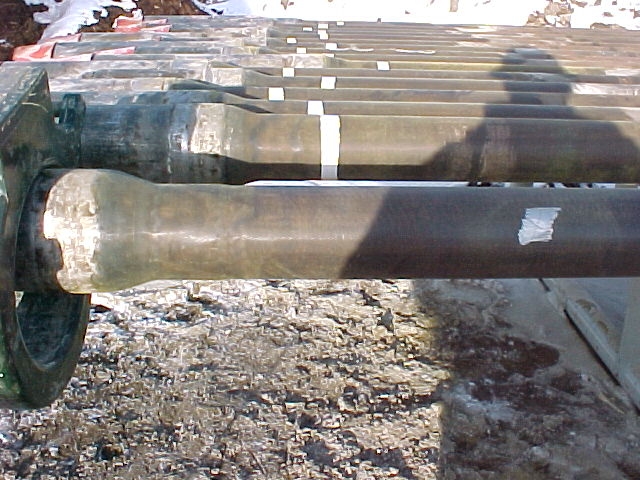
Cracked tube .5m from tooljoint upset 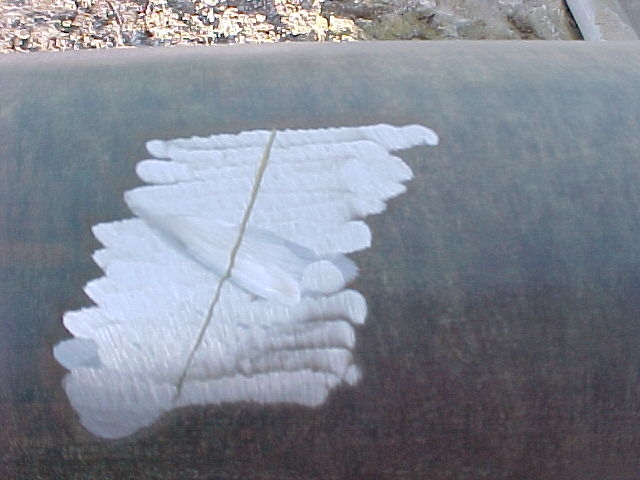
closeup of crack on left 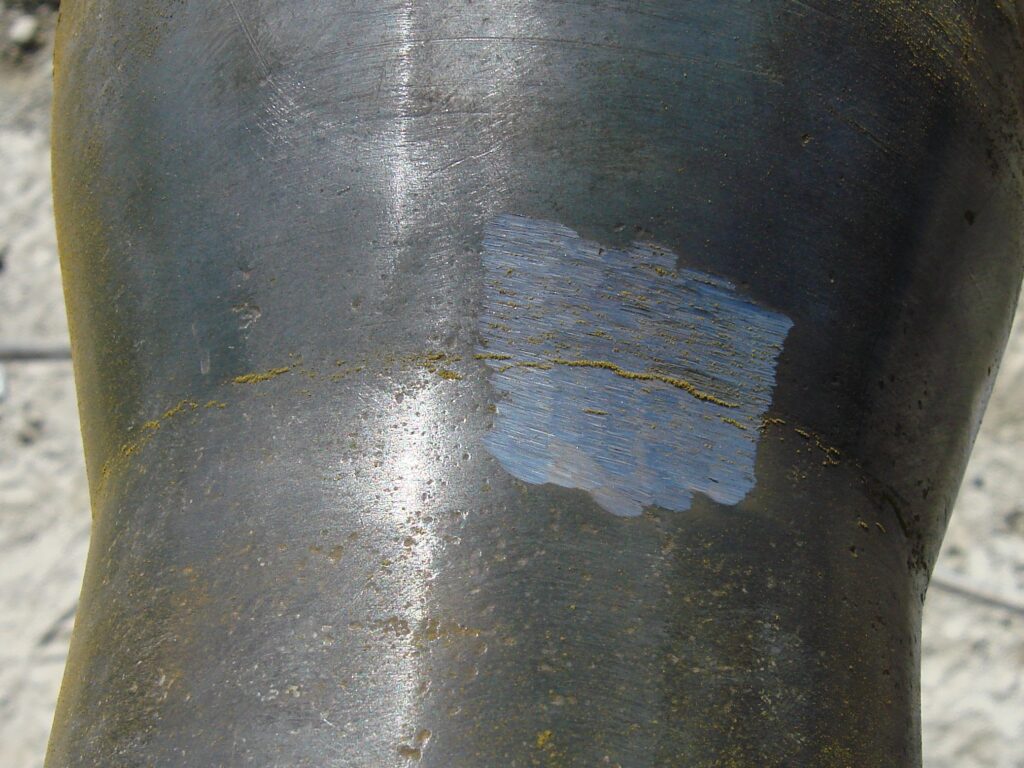
Cracked tooljoint upset 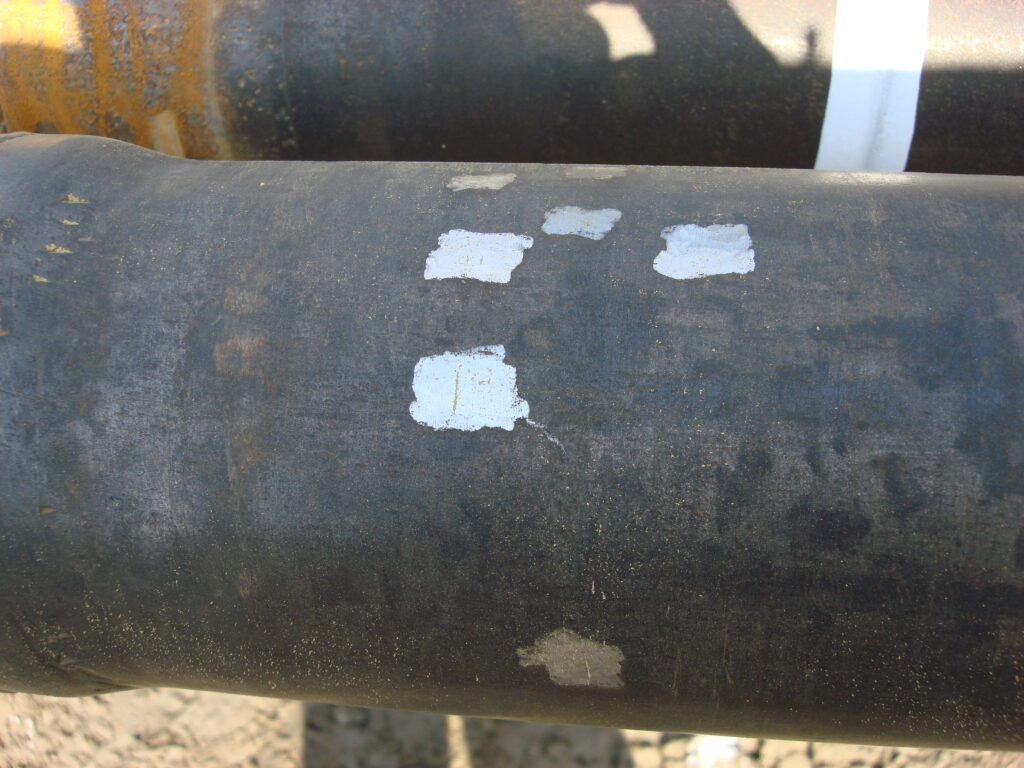
Cracked tube off wearpad upset
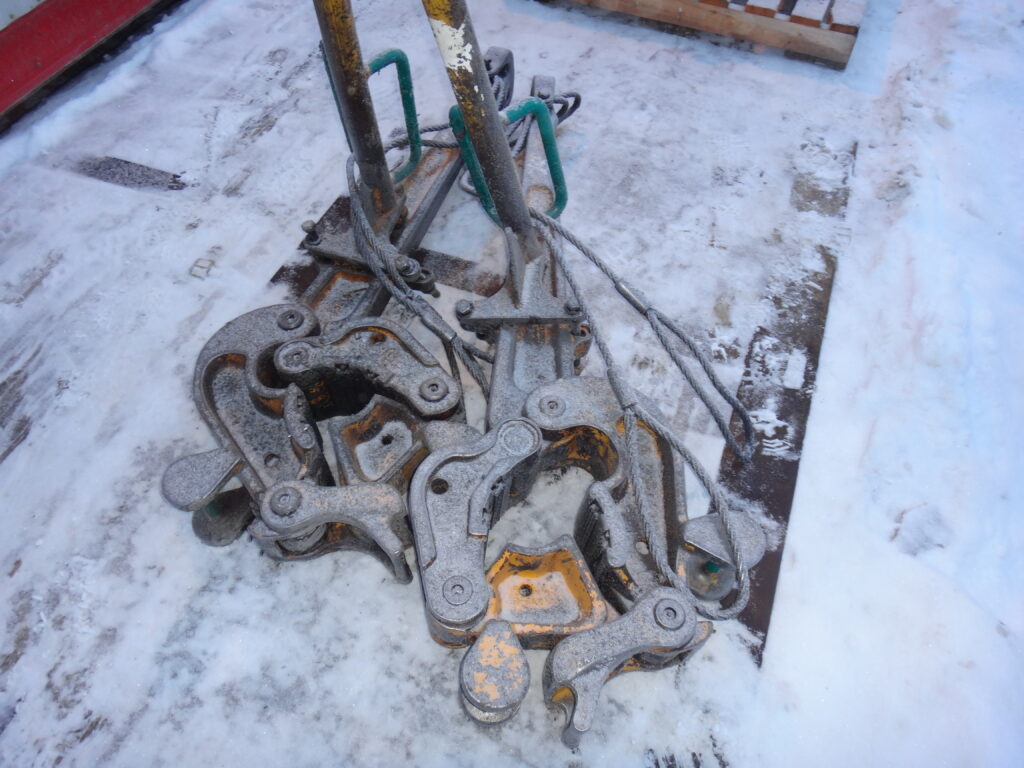
MANUAL TONGS
All tong parts are cleaned down to bare metal if possible. Tongs are normally painted and that can be difficult to remove. In that case paint is removed from high stress areas and along edges where cracks are most likely to develop. Tong parts are then magnetized and the residual magnetic field is verified with a magnetic field indicator. All surfaces are then inspected for cracks using the wet fluorescent magnetic particle (black light) method including pin hole IDs.
Before 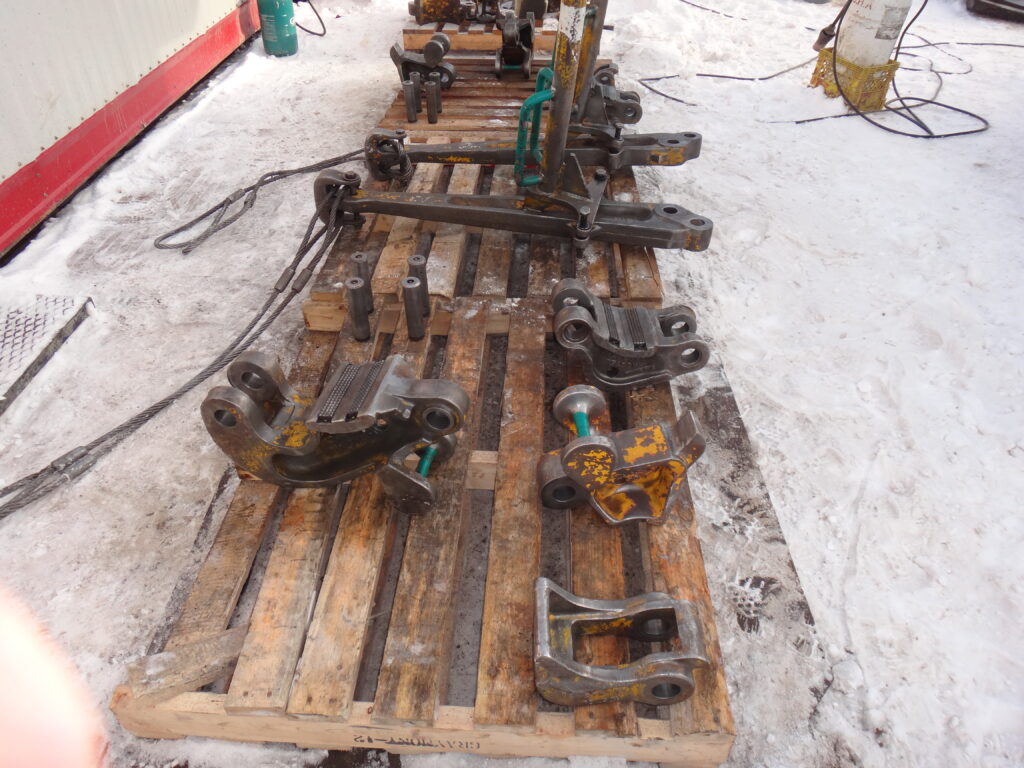
After 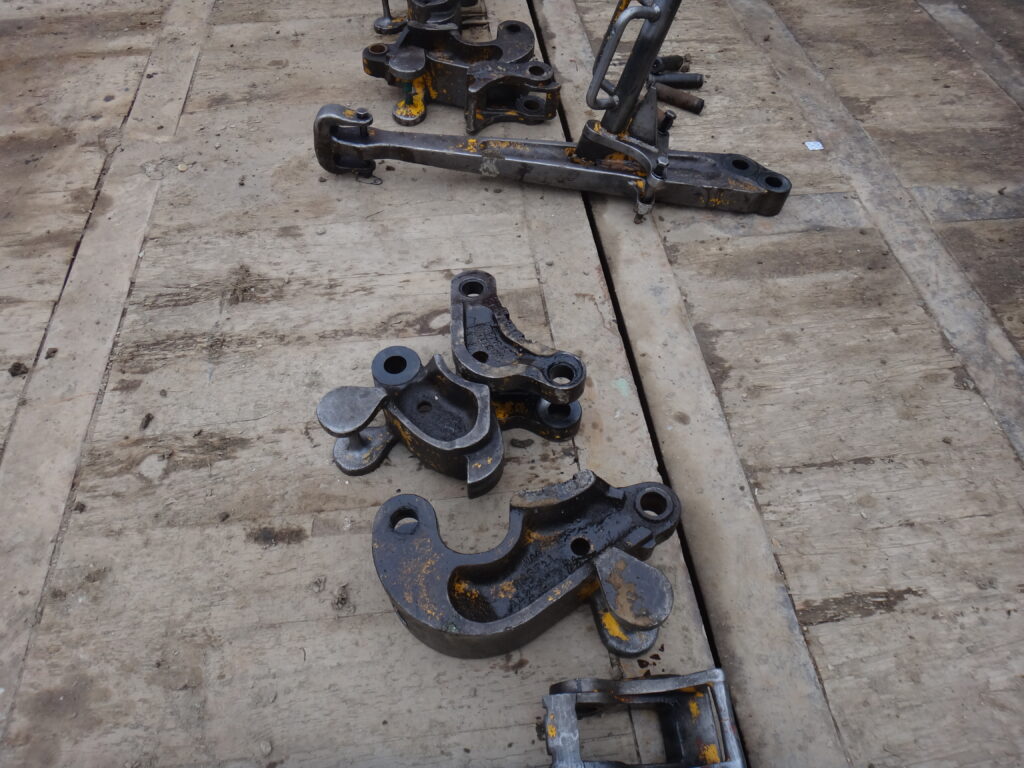
Before 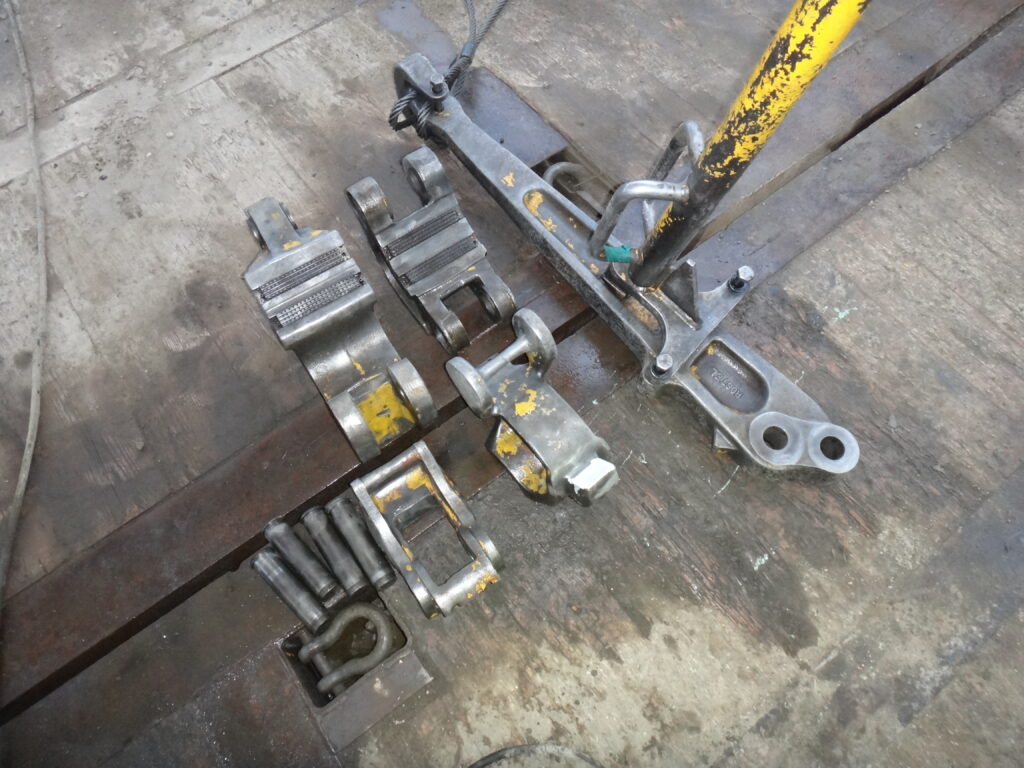
After 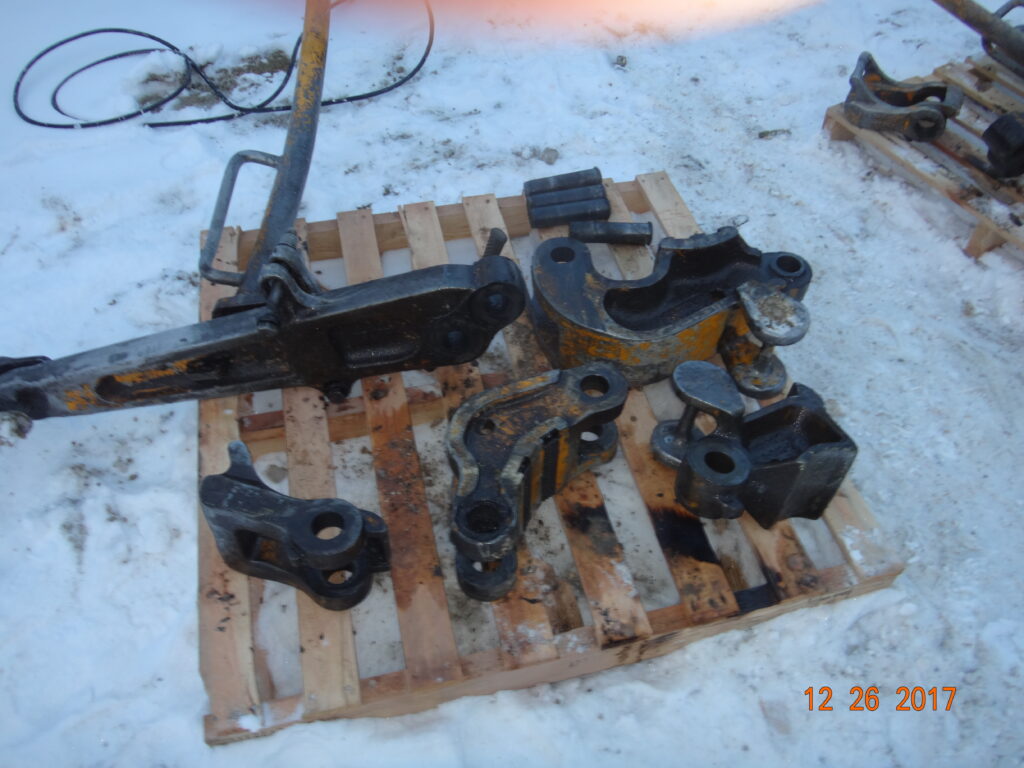
Before 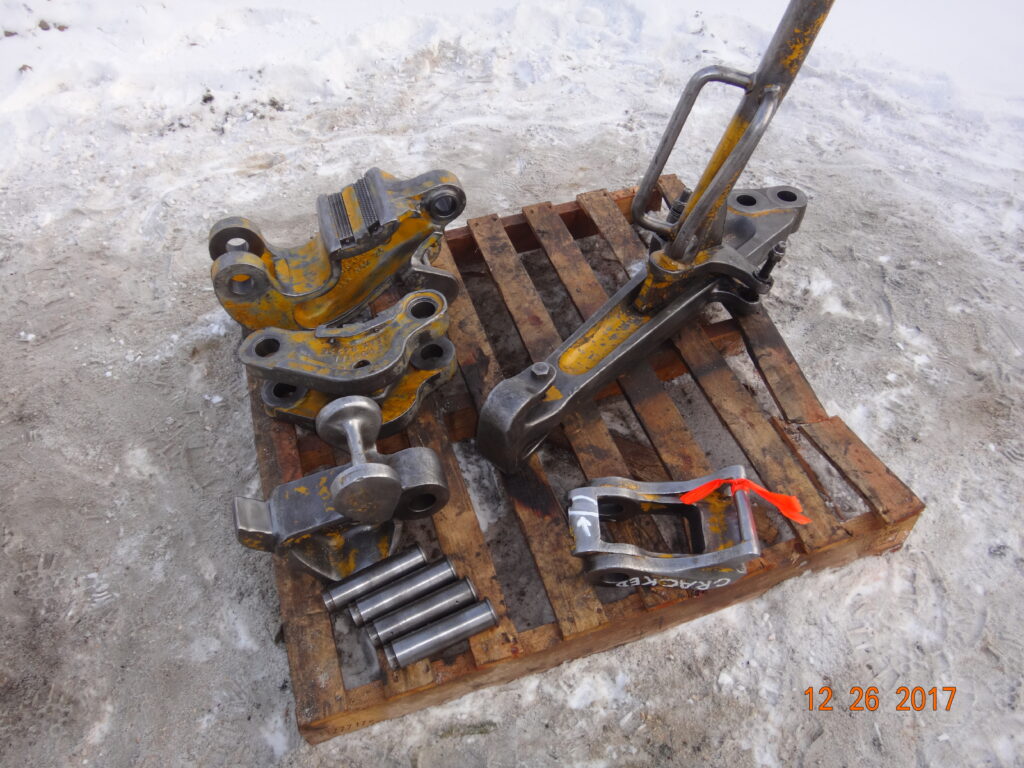
After 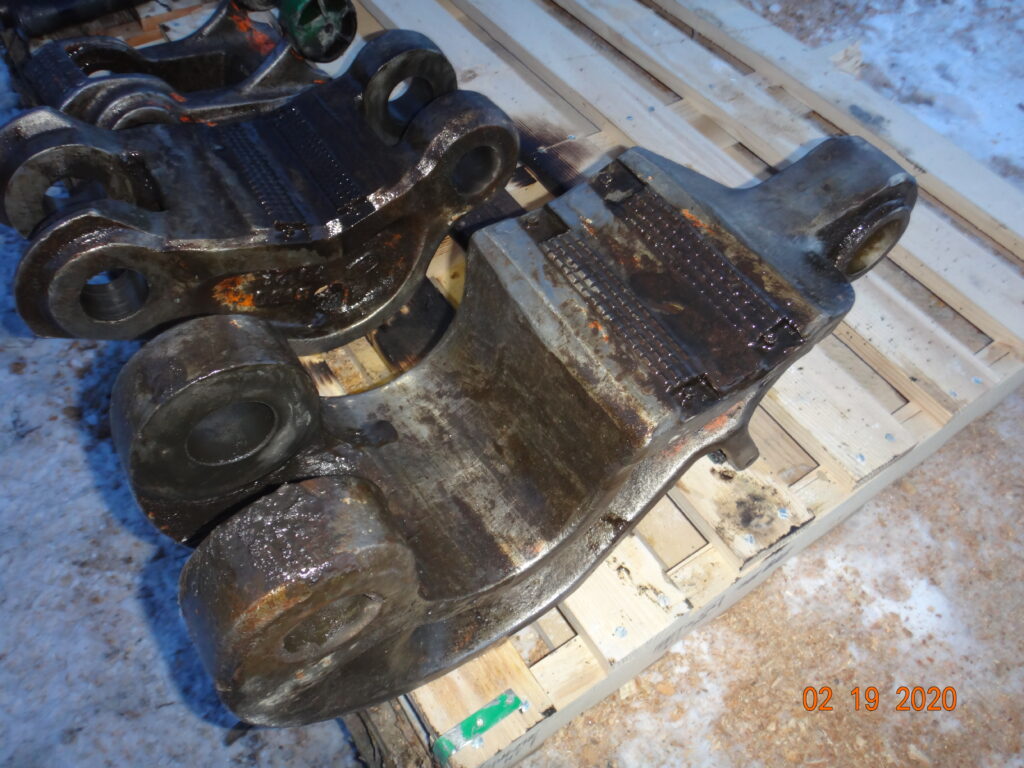
Before 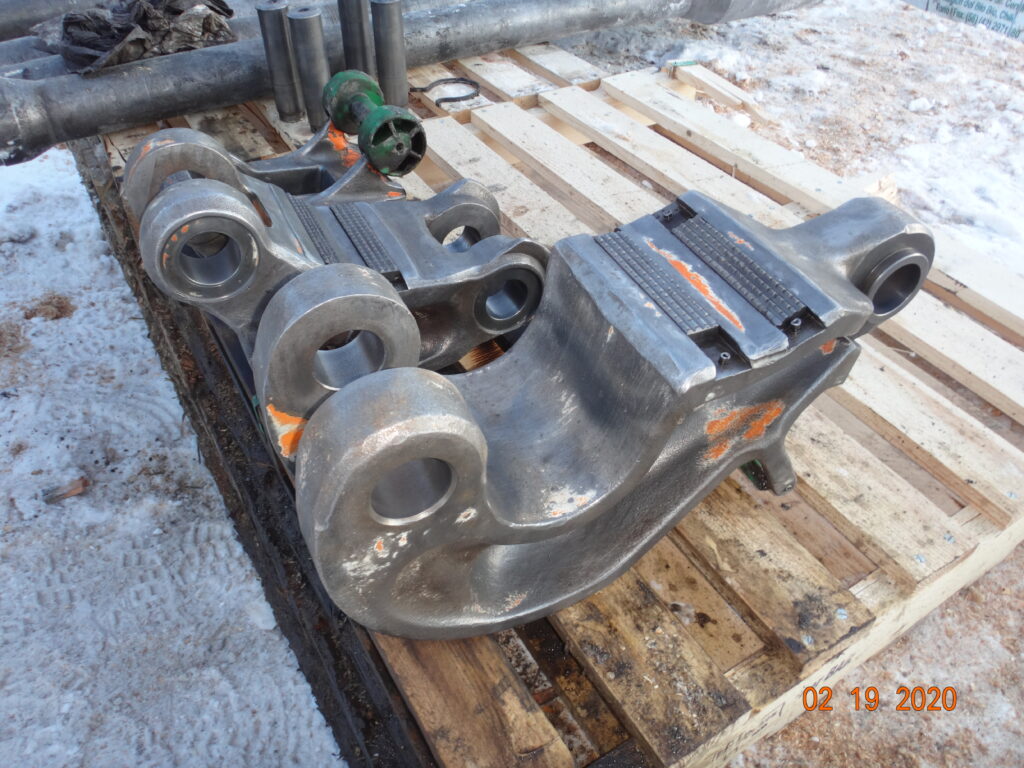
After 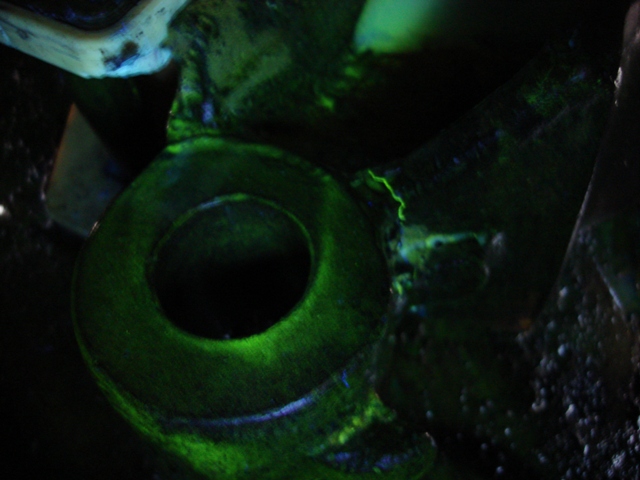
Cracked lug jaw 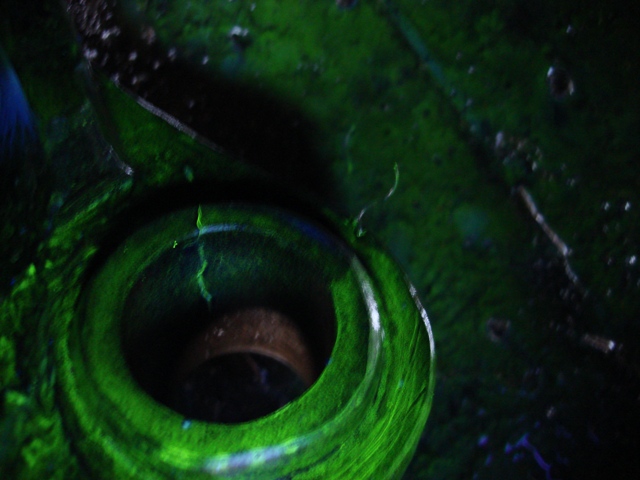
Cracked long jaw
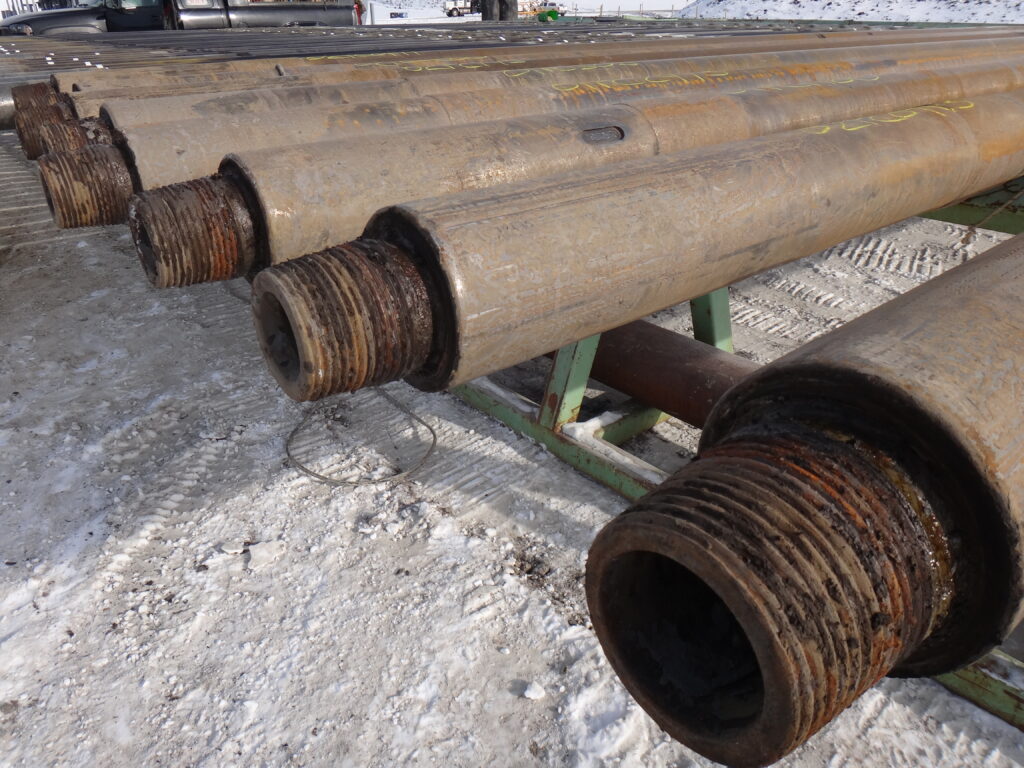
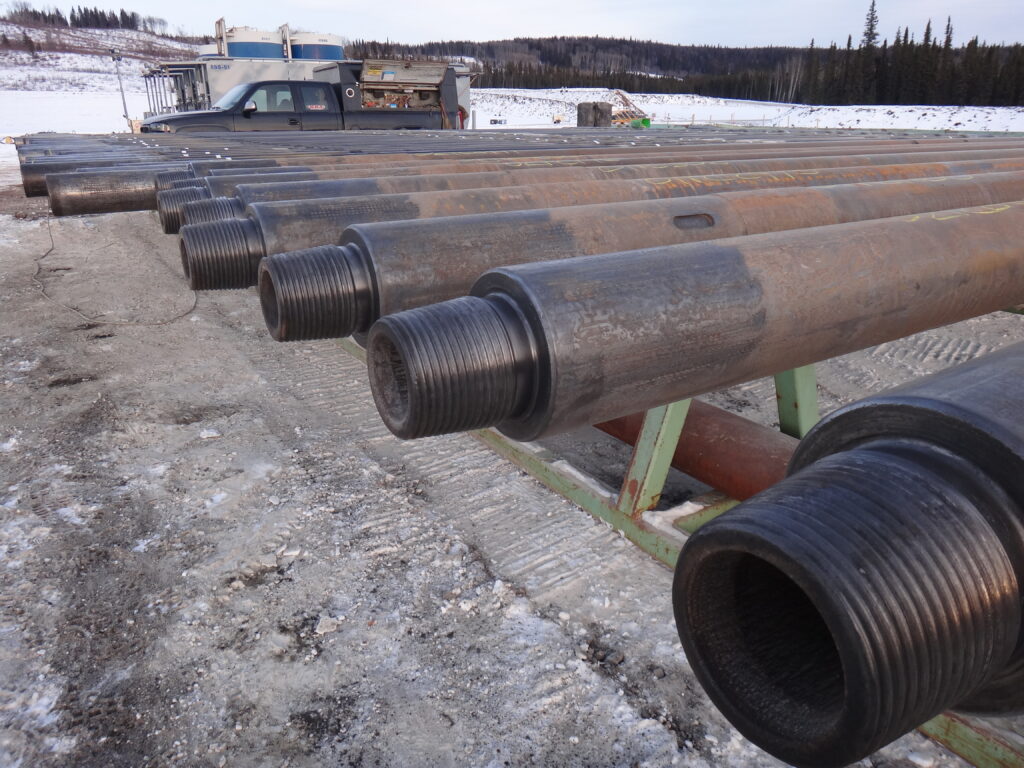
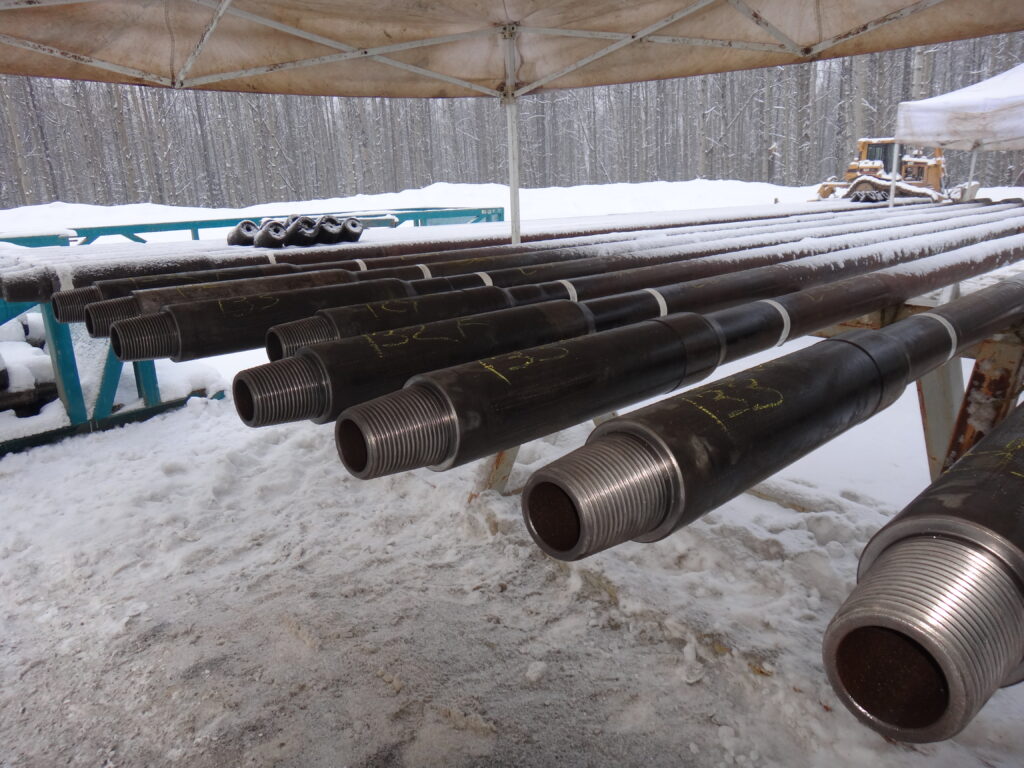
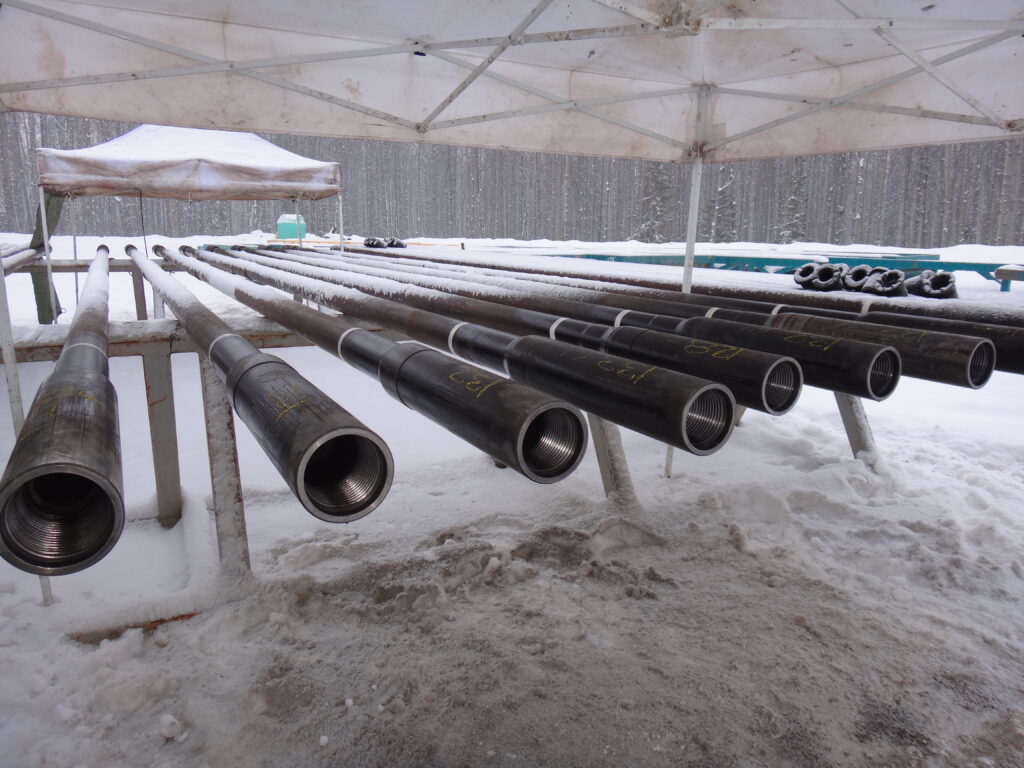
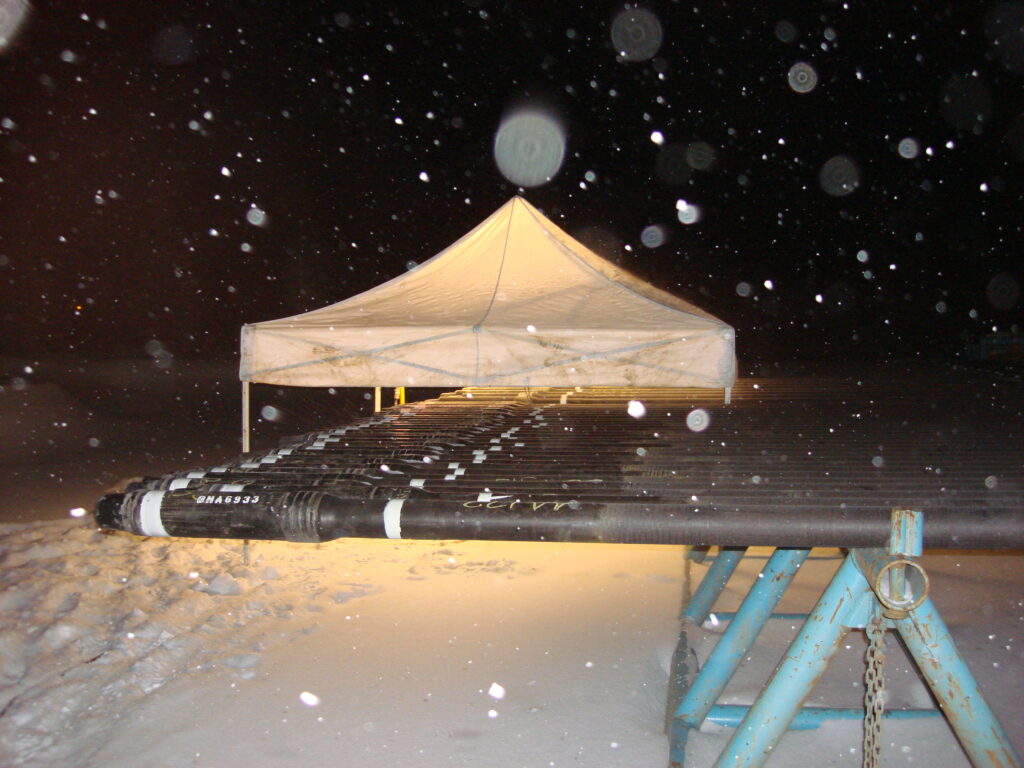
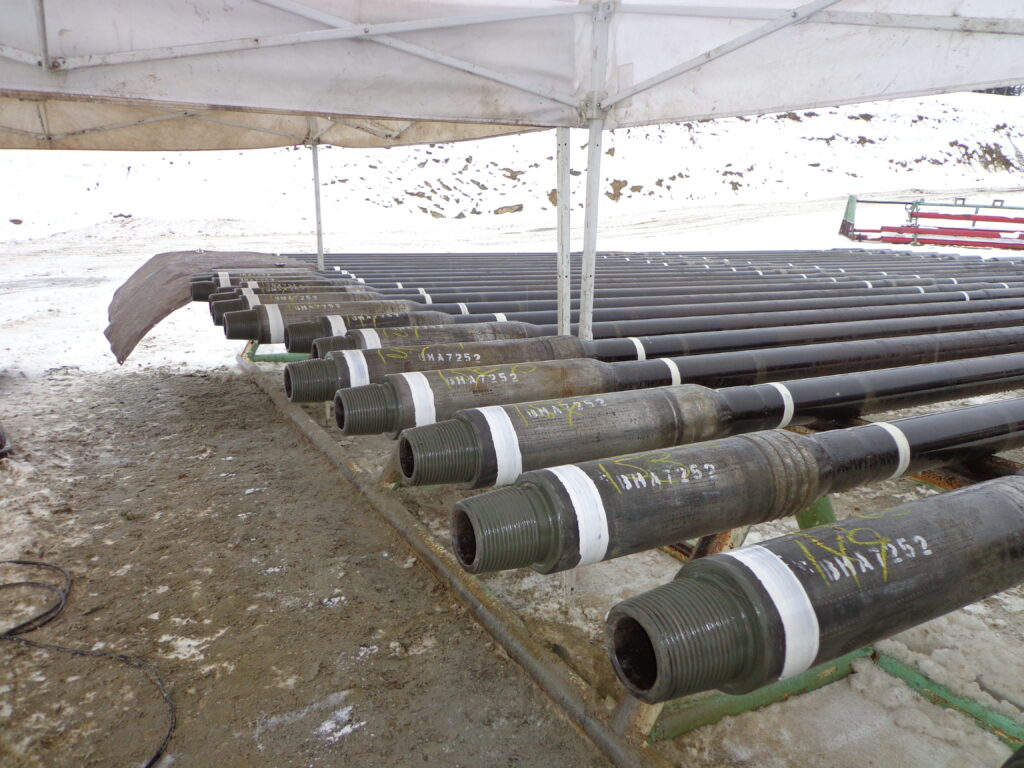
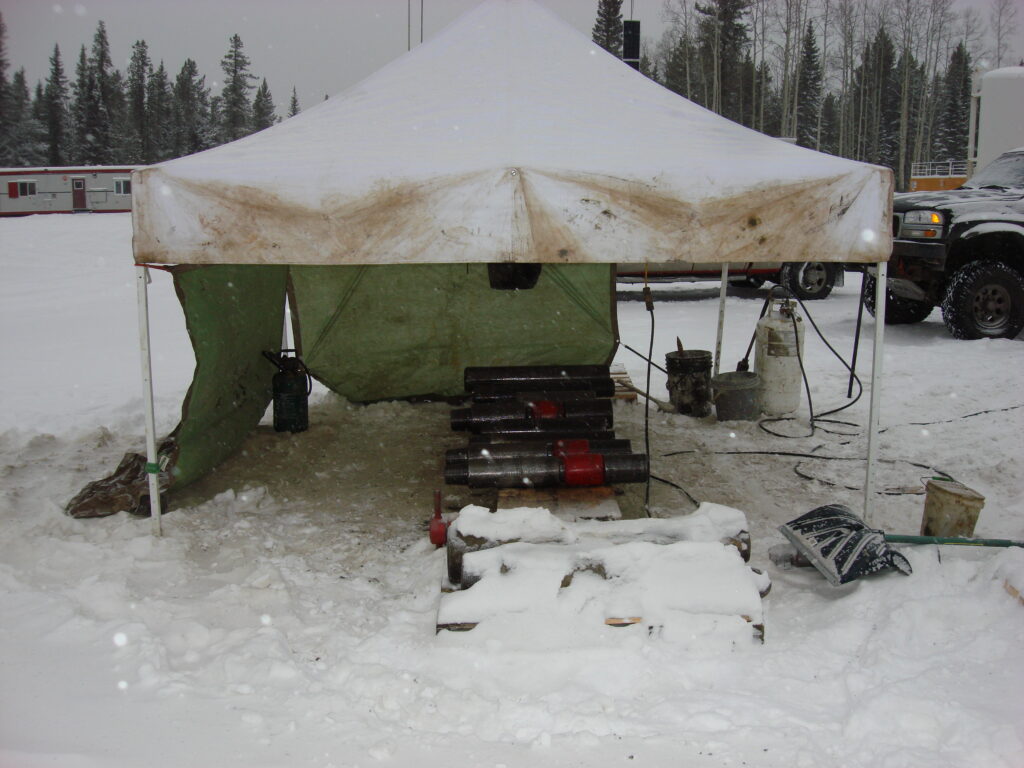
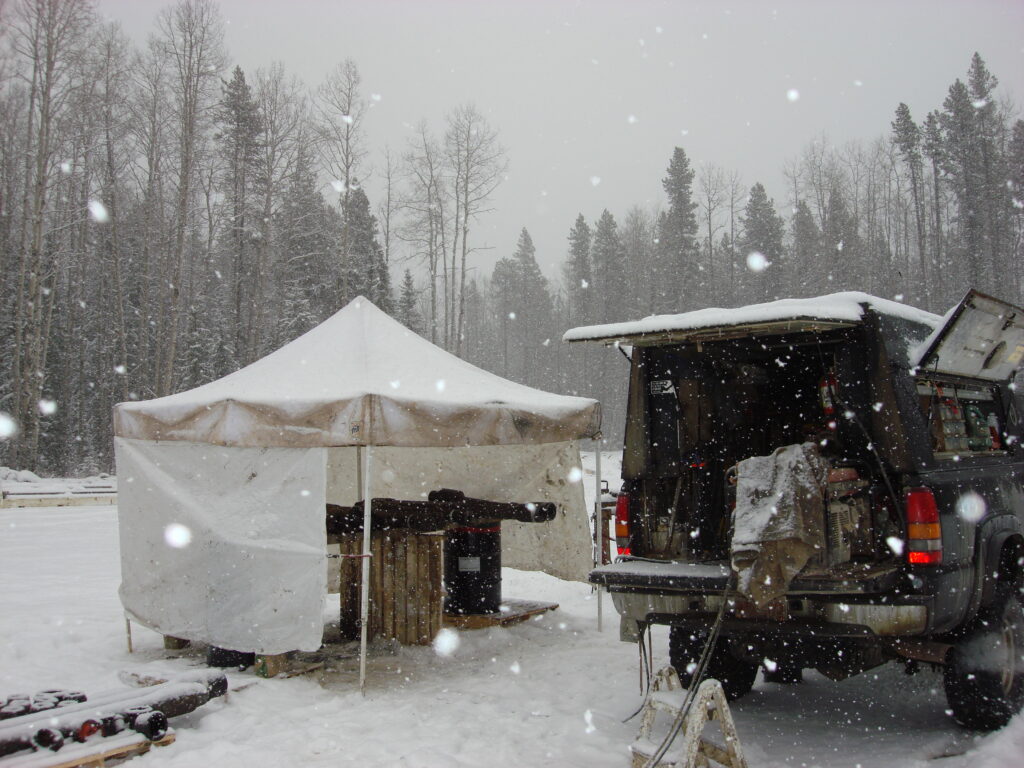
No matter the tool being inspected all precautions are take to ensure the best possible job. That includes when dealing with the weather.
At the completion of every job tools are clearly identified as to their usability and all useable rotary shoulder connections are coated with tooljoint thread compound.
